- Improve Your Volleyball with Coach April
- How To Play Volleyball
- How To Serve A Volleyball
How To Serve A Volleyball A Step By Step Tutorial For Beginners
With this step by step tutorial I teach beginner players how to serve a volleyball because having a tough overhand serve may increase your playing time.
When you learn how to serve a volleyball, even though it's your hand that makes contact with the ball, the following elements are super important...
- the correct positioning of your feet
- the movement of your core and lower body working together,
- a consistent volleyball serve toss and
- where your hand contacts the ball when serving are four things that will help determine how successful your overhand serve is.
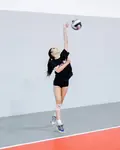
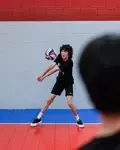
Toni with the float serve during
Happy Hour Class Training
That should help explain ahead of time why much of my advice on how to serve a volleyball is concentrated on the correct positioning of your feet and lower body.
But first...
How To Serve A Volleyball
Decide Where You're Going To Serve
When you learn how to serve a volleyball you should first decide exactly where you want your serve to go.
Are you a tough volleyball server?
As a tough volleyball server, your job is to be comfortable serving anywhere and anyone from behind the service line with pace and precision in order to score points.
When you do your volleyball drills for serving practice you want to do tons of reps to every single one of the six positions on the court.
You want to be able to hit those targets from anywhere behind the service line.
Targets to aim for during your volleyball drills for serving:
-serve seams
-serves the sidelines
serve outside hitters deep in the court
Some players think that being a tough volleyball server means you need to really be sneaky and try and fake out the serve receive by not showing where you are going to serve.
On the contrary I say...let everybody know where you are going to serve.
Face Your Target.
Ready to take your serving to the next level?
I help college-prep players who've mastered basic serving but want more impact elevate to next-level serving strategy without losing fundamentals through elite training that transforms good serves into game-changing weapons.
My private training sessions are specifically designed for college-bound athletes who refuse to settle for "good enough" serving.
Limited spots available for serious players only.
When you're first practicing your serve, your ball may not always go where you want it to but no matter what, you always want to serve the ball with a purpose.
Remember that you want to have a place or a person to aim for when you serve the ball in the opposing team's court.
Identify a location on the opponent's court where your serve creates the most difficulty for the opposing team to run their offense.
For players learning how to serve a volleyball, serving with a purpose is an important part of the process.
- Are you going to serve the ball cross court?
- Will you serve down the line?
Decide what you're going to do with your serve before you serve.
How To Serve A Volleyball
What To Do With Your Feet
In order to begin the serve we first start with how your feet should be positioned.
If you are a right hander you should place your right foot parallel to your left foot so both feet are parallel to each other.
Yes, this makes them parallel to the net AND the service line also.
This means your left hip and left tossing arm should be pointed straight ahead and aimed at the target you want to serve.
Your body should be opened up and perpendicular to the net, facing the wall on your right with feet and hips parallel to the service line and the net.
If you decide to serve cross court to the opposing team's zone one (1) area, then your hip should be pointing cross court and so should your tossing arm.
You should have all your body weight equally distributed on both feet.
This should be a very comfortable position. Even though your feet are pointed towards the wall on your right, the heels of both of your feet should be on the ground.
The only lower body movement needed when you serve the ball will be a very very slight step with your left foot, in place, required when you pivot your body weight from your right foot to your left foot, after you toss the ball two feet in the air.
How To Serve A Volleyball
What To Do With Your Upper Body
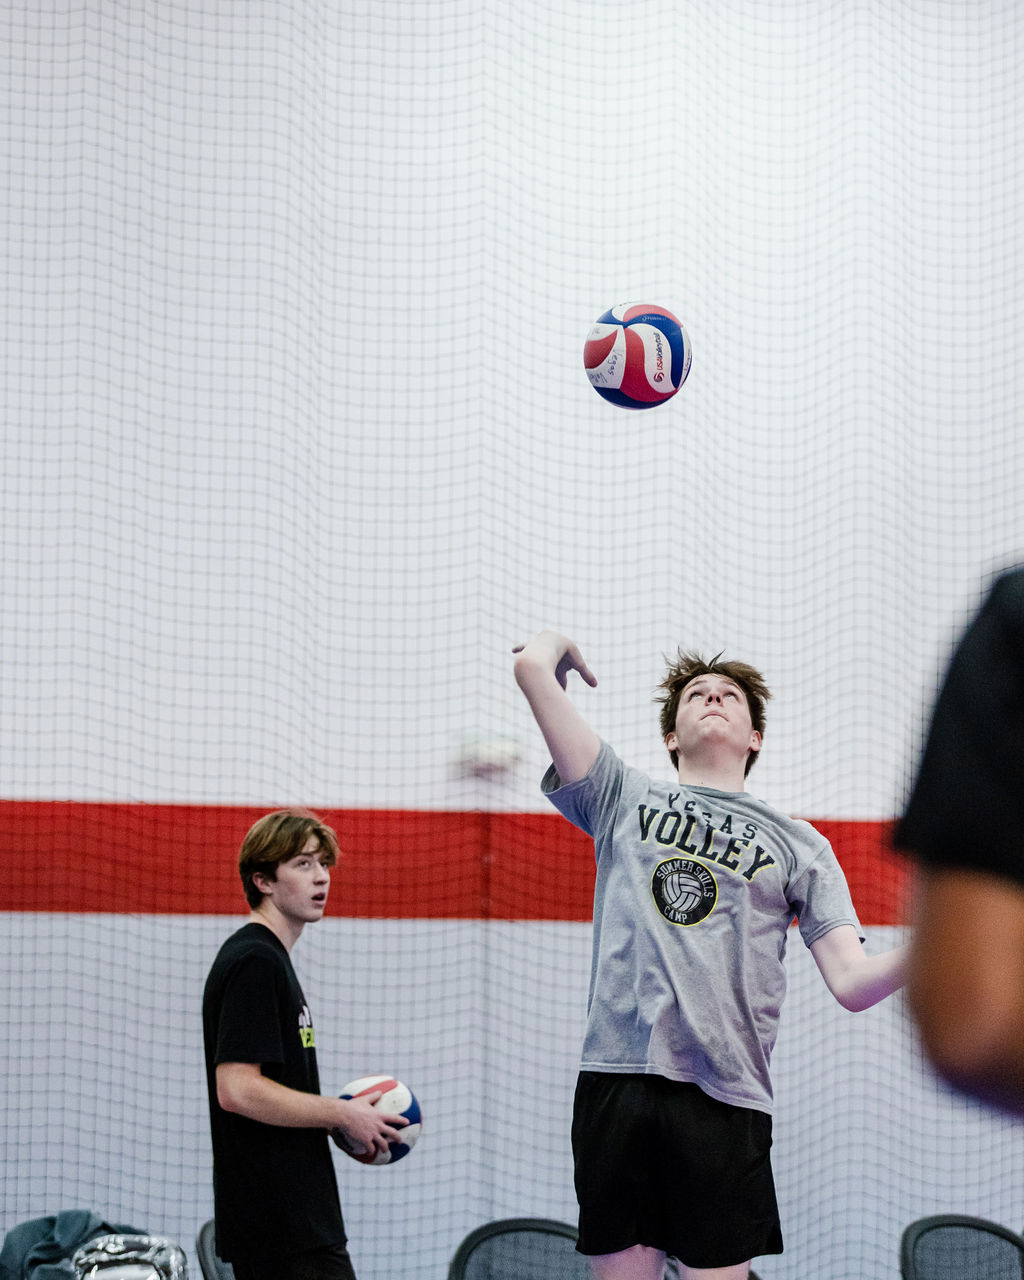
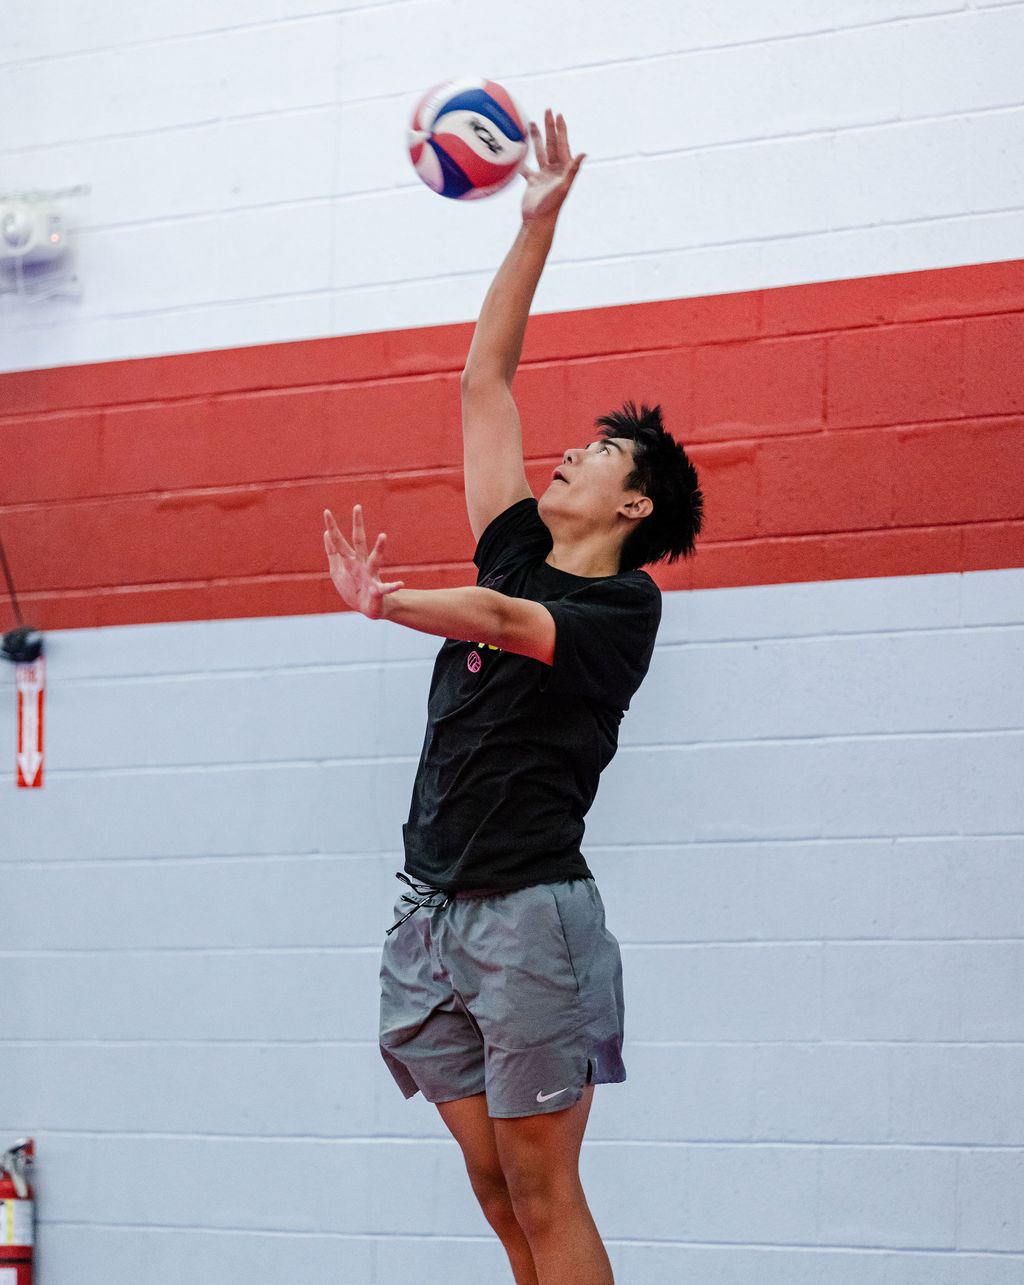
Your non-serving arm should be extended straight out to the side of your body, parallel to your hip and holding the ball that you will toss in the palm of your hand.
This is the arm that you will be tossing the ball in the air with.
This would be the left arm for right handers and the right arm for lefties. It needs to be held comfortably straight out to your side and pointing directly at the target you intend to serve to.
Make sure the starting position for your left arm is straight out in front of you, not down by your waist.
Ready to take your serving to the next level?
I help goal-oriented players who struggle with float serve consistency master next-level technique without endless frustration through personalized training that makes your float serve a reliable point-scorer for recruitment videos.
My private training sessions are specifically designed for college-bound athletes who refuse to settle for "good enough" serving.
Limited spots available for serious players only.
I teach players to eliminate all extra unnecessary body movement and to be very aware of what their body is doing at all times.
(Coach ApChap)
Do You Follow Me on Pinterest?
 Private or semiprivate volleyball indoor/sand lessons are an excellent way for young Las Vegas high school volleyball players to quickly improve their individual skills through a private or semi-private coaching experience.
These lessons are conducted by former pro volleyball player, former USA Volleyball High Performance instructor and Evaluator and Tstreet Vegas 18s head Coach April Chapple on a weekly basis.
Sign up now!
Private or semiprivate volleyball indoor/sand lessons are an excellent way for young Las Vegas high school volleyball players to quickly improve their individual skills through a private or semi-private coaching experience.
These lessons are conducted by former pro volleyball player, former USA Volleyball High Performance instructor and Evaluator and Tstreet Vegas 18s head Coach April Chapple on a weekly basis.
Sign up now!Follow me on Pinterest Volleybragswag to improve your game even faster!
I share alot of individual, partner and easy-to-do volleyball serving drills we do in class with my followers.
Many of these volleyball practice drills you can do at home by yourself or try at your next practice with your teammates.
If you're a B team or JV player trying to make varsity next year...your goal should be to complete 1000 reps a day of at least three of the basic skills on your own...volleyball passing, serving and setting should be at the top of the list.
The Volleyball Serve:
Where Do You Go From Here?
Where do you need to go now? Here are three options:
- Learn more about How To Play Volleyball.
- Follow the suggested reading on our Sitemap page Learning How To Play (Sitemap)
- Or visit the pages to learn more about the volleyball serve in the Related Links below.
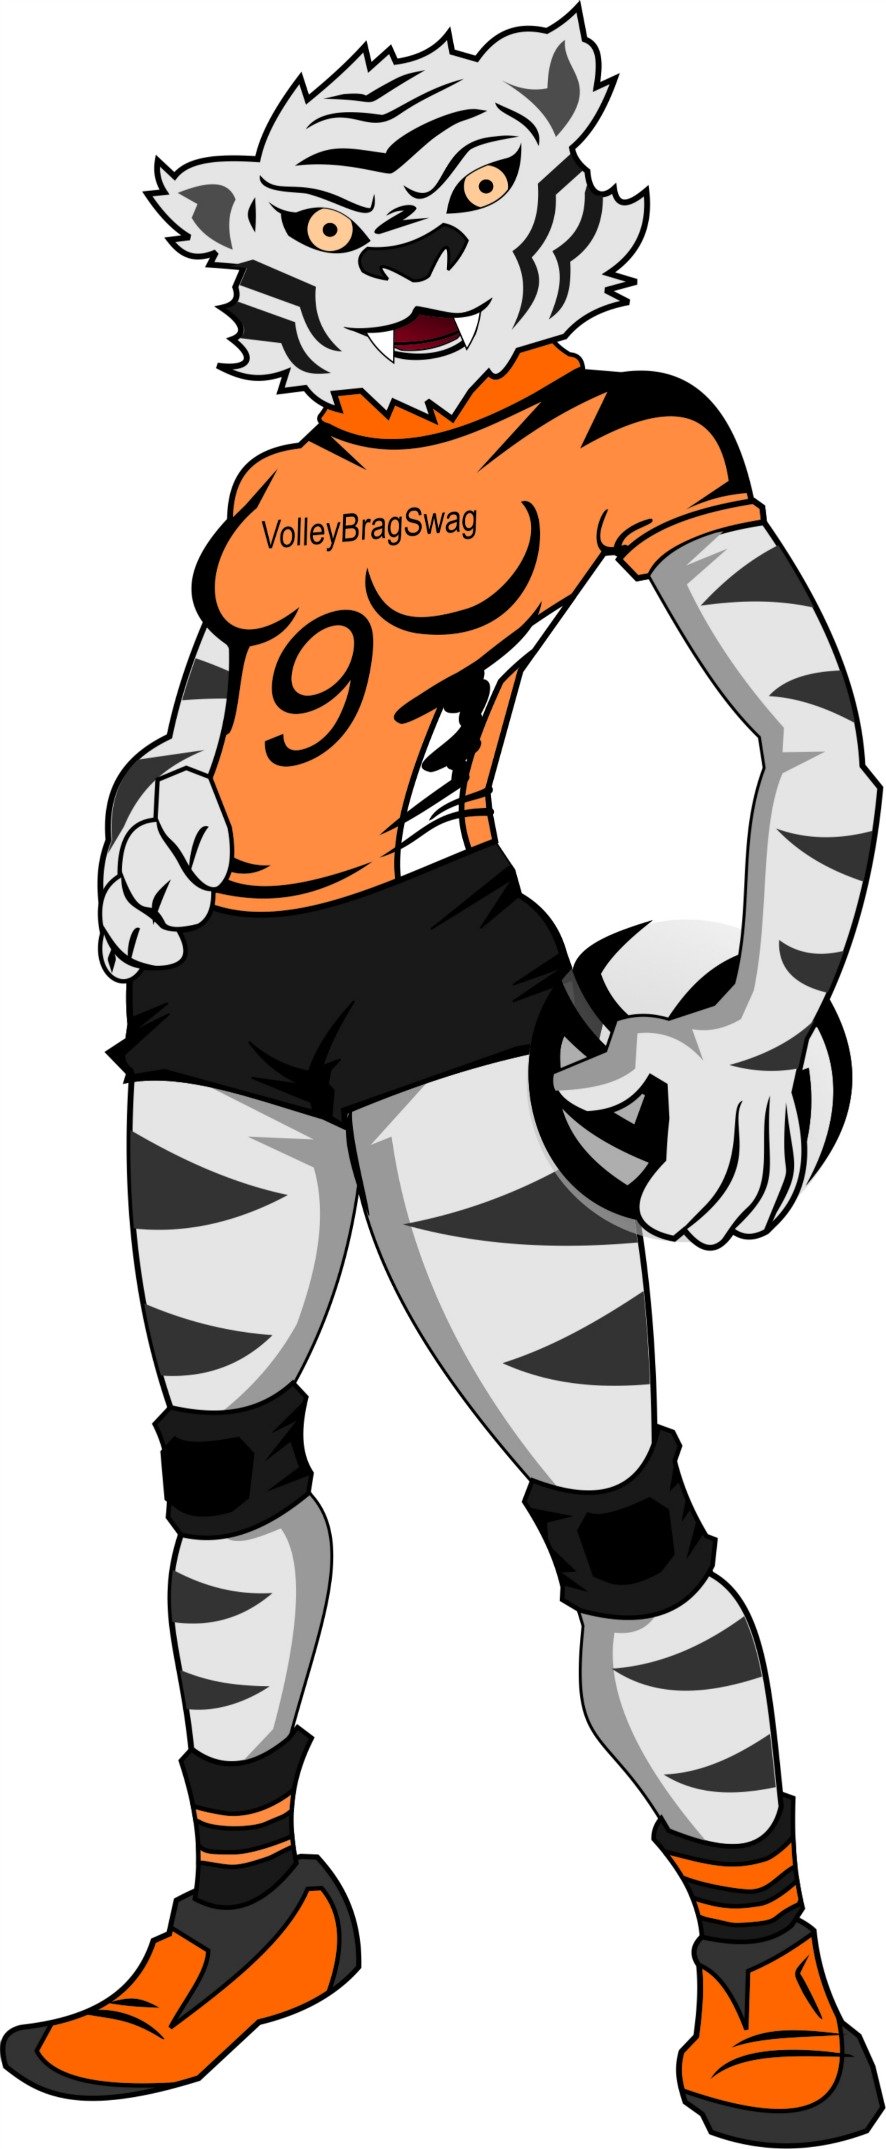
Meet Tatoo the Tiger, Serving Specialist on VolleyBragSwag's All Beast Team
If your athlete struggles with consistent serve receive, gets subbed out, or is overlooked for playing time—this is the fix you’ve been looking for.

Struggling with passing consistency?
I help talented passers tired of getting pulled from games because of inconsistent serve receive skills BUILD passing confidence without expensive private lessons using the same 3-step system that's helped dozens of my athletes get recruited.
Download my eBook for $17.99 and start building the passing confidence that keeps you on the court—and gets you seen by college coaches.
From Lady Vol to Legend: Coach April Produces Powerful Passionate Players...is that you?
What Are You Looking For?
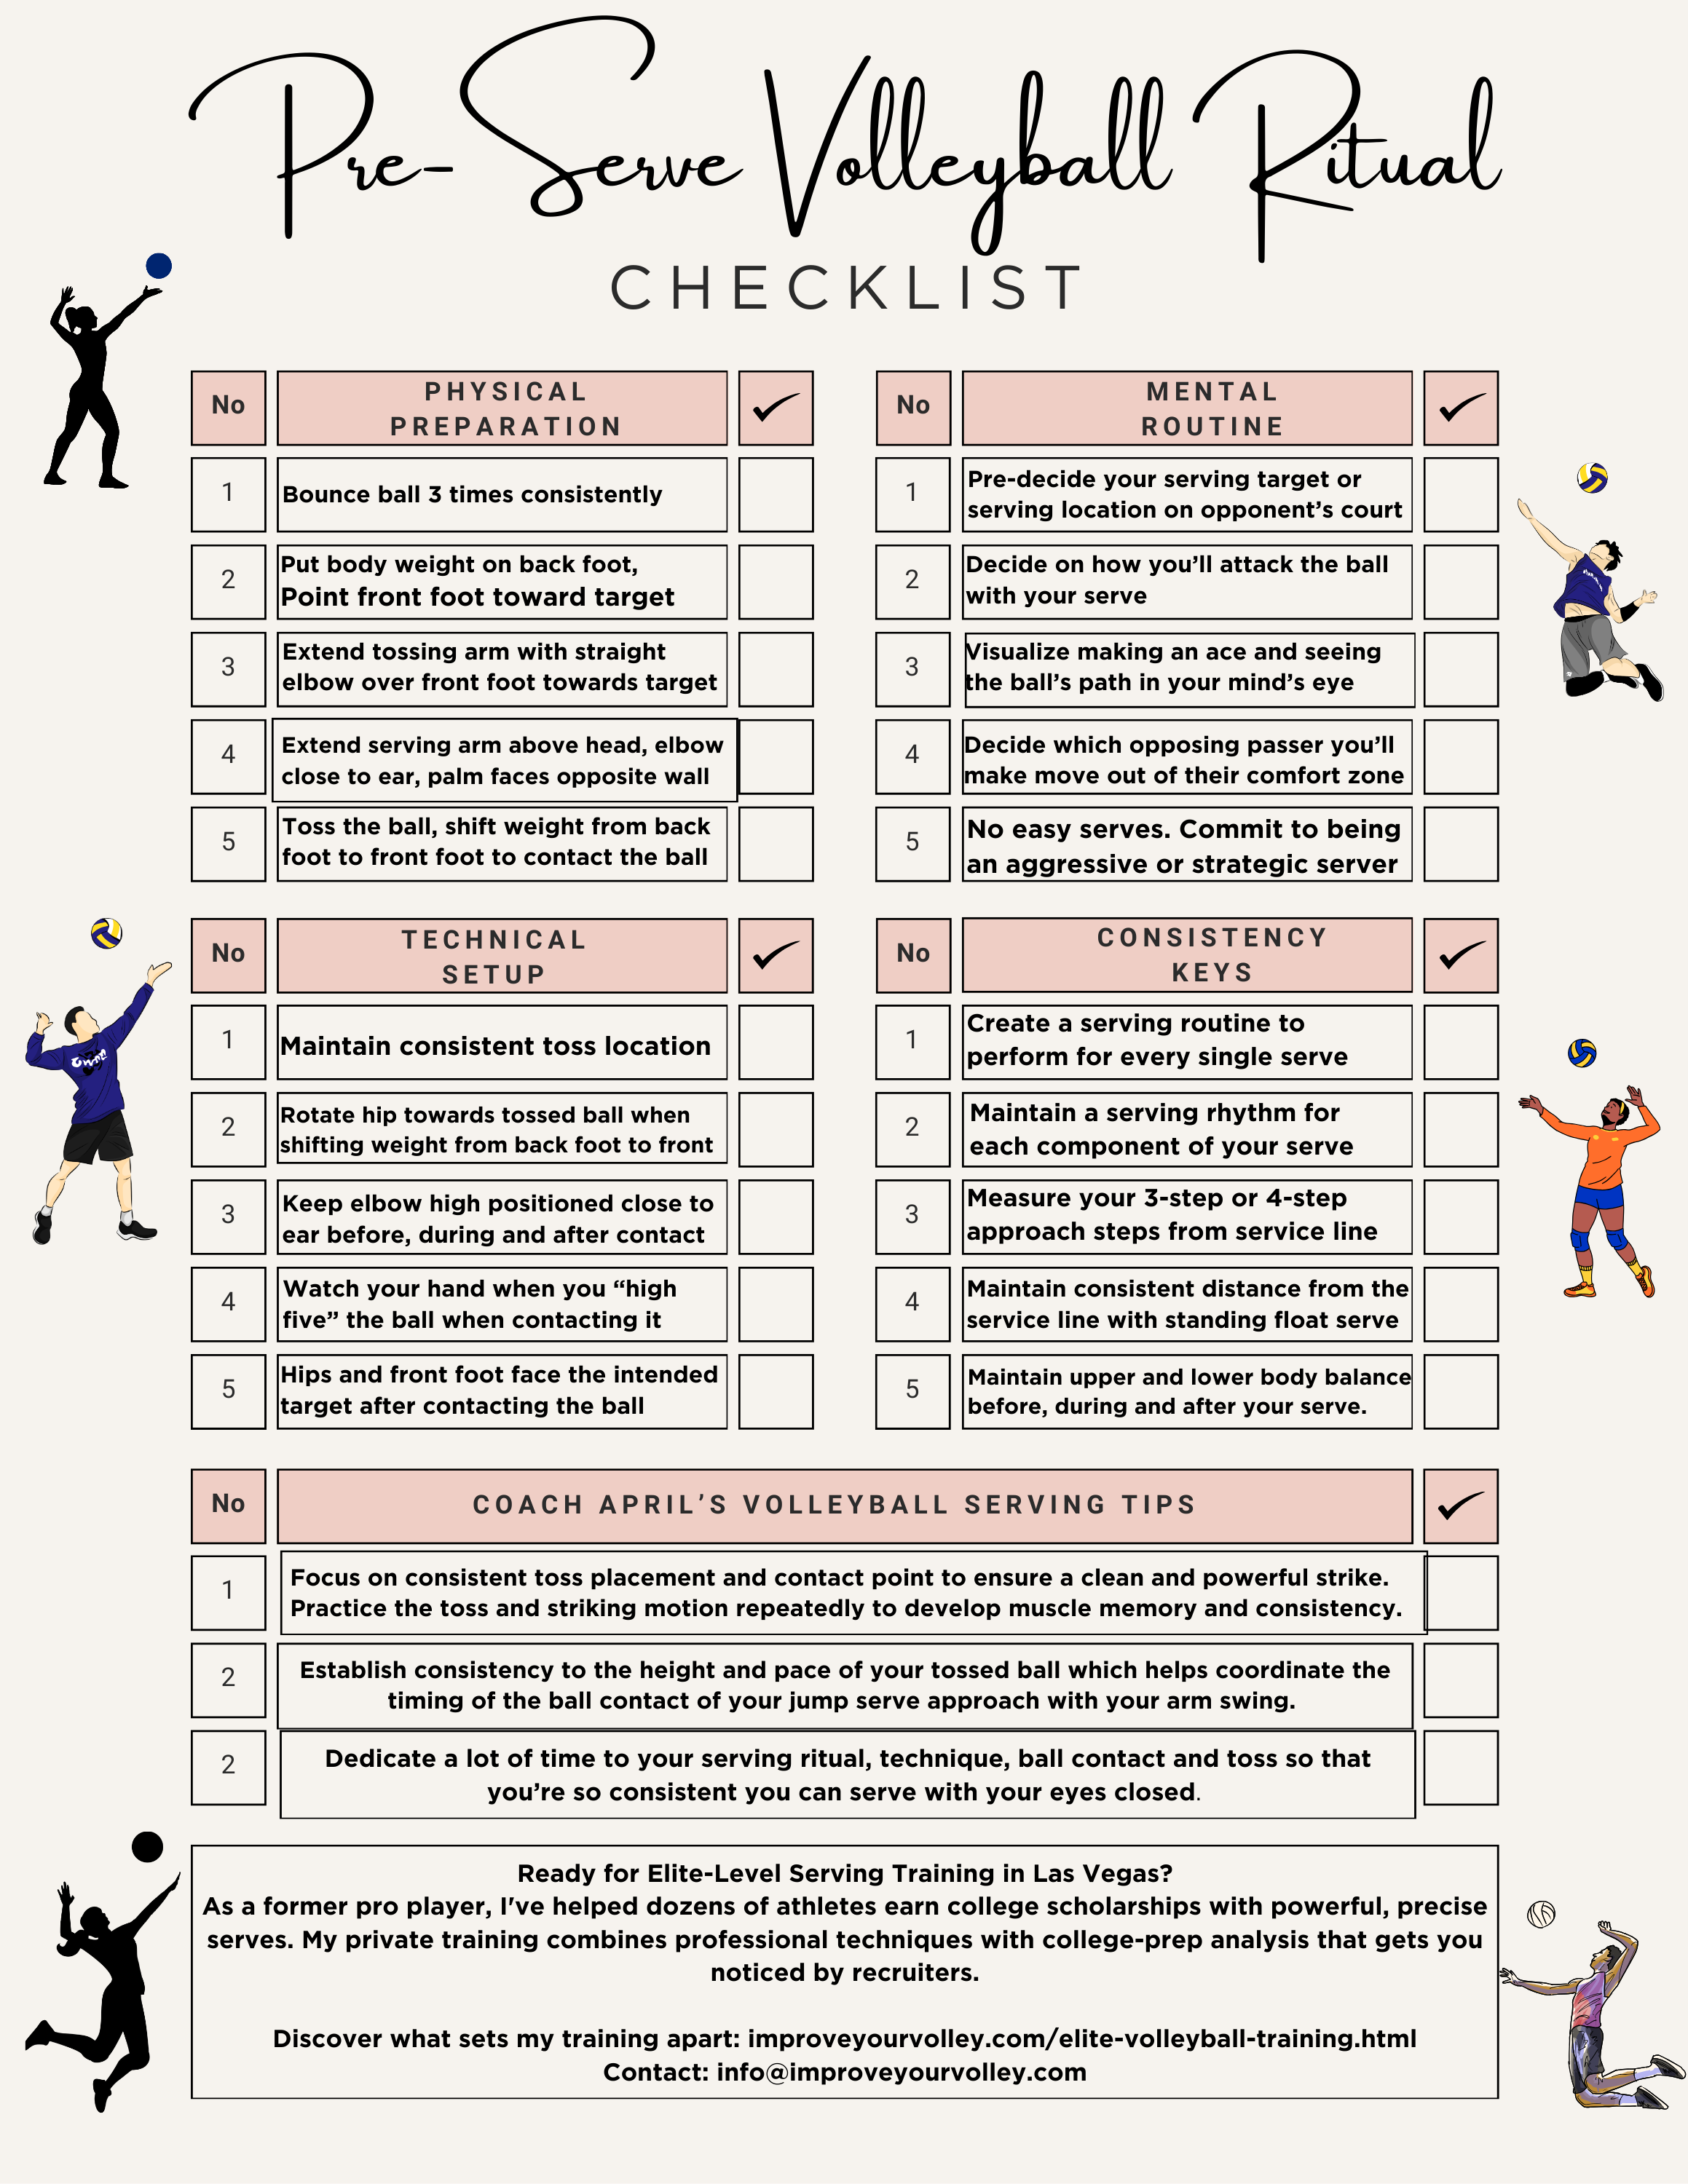
Click to Download Your Pre Serving Ritual Mastery Checklist pdf:
🎯Volleyball Pre Serving Ritual Guide -
Players! Learn How To Transform Your Serve from Weak to Weapon
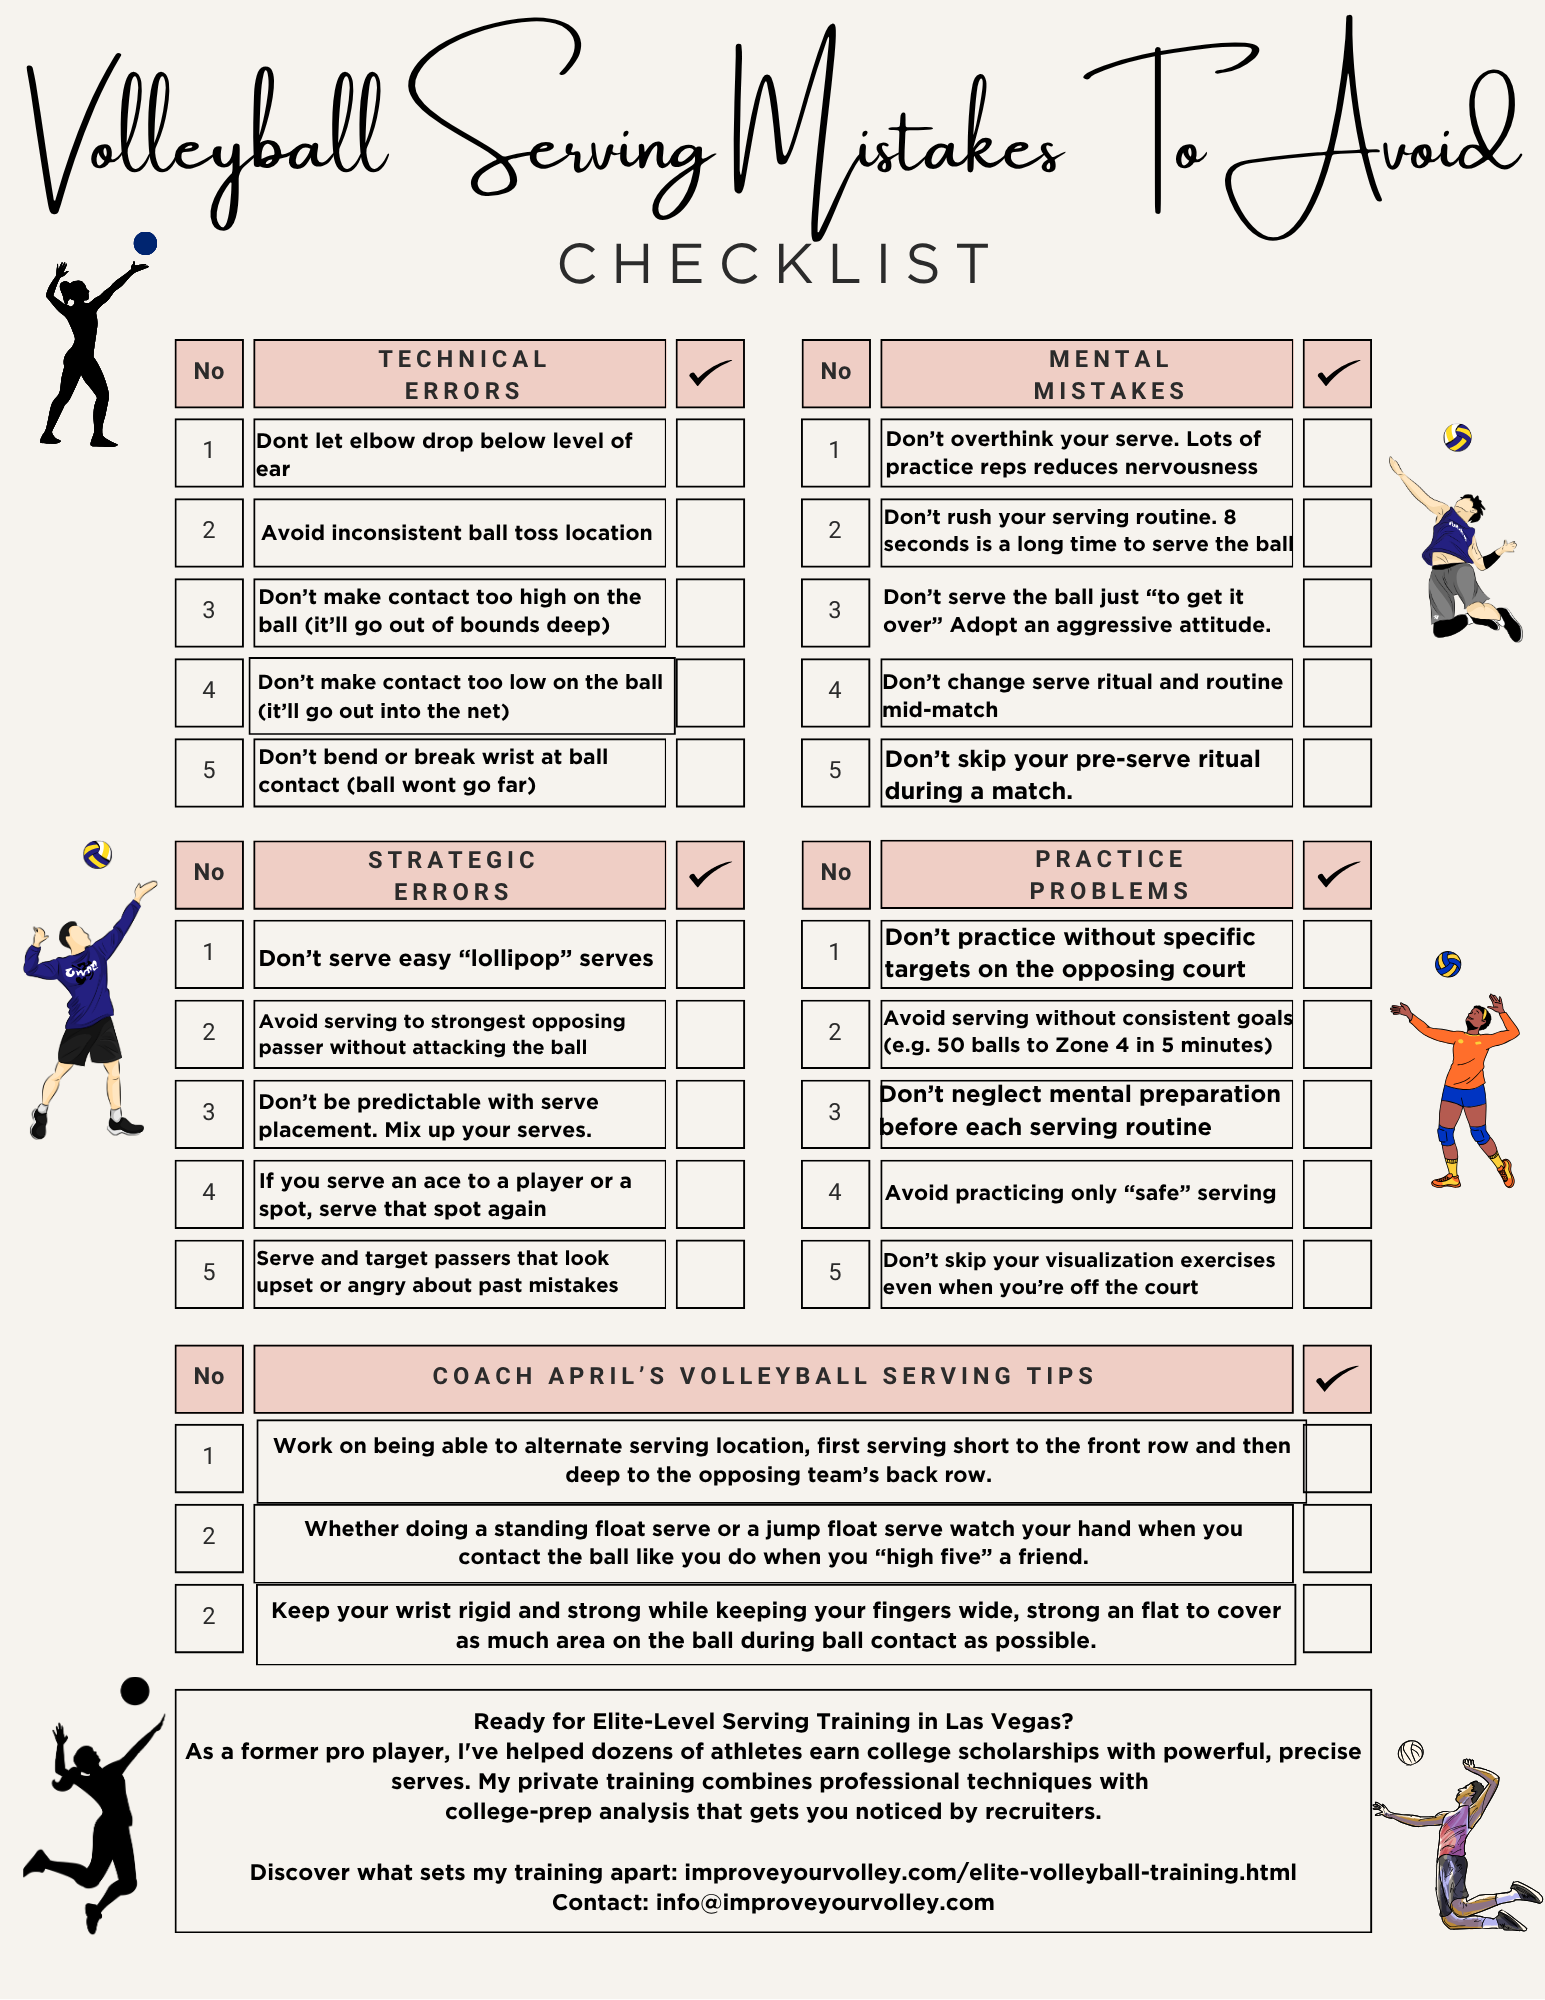
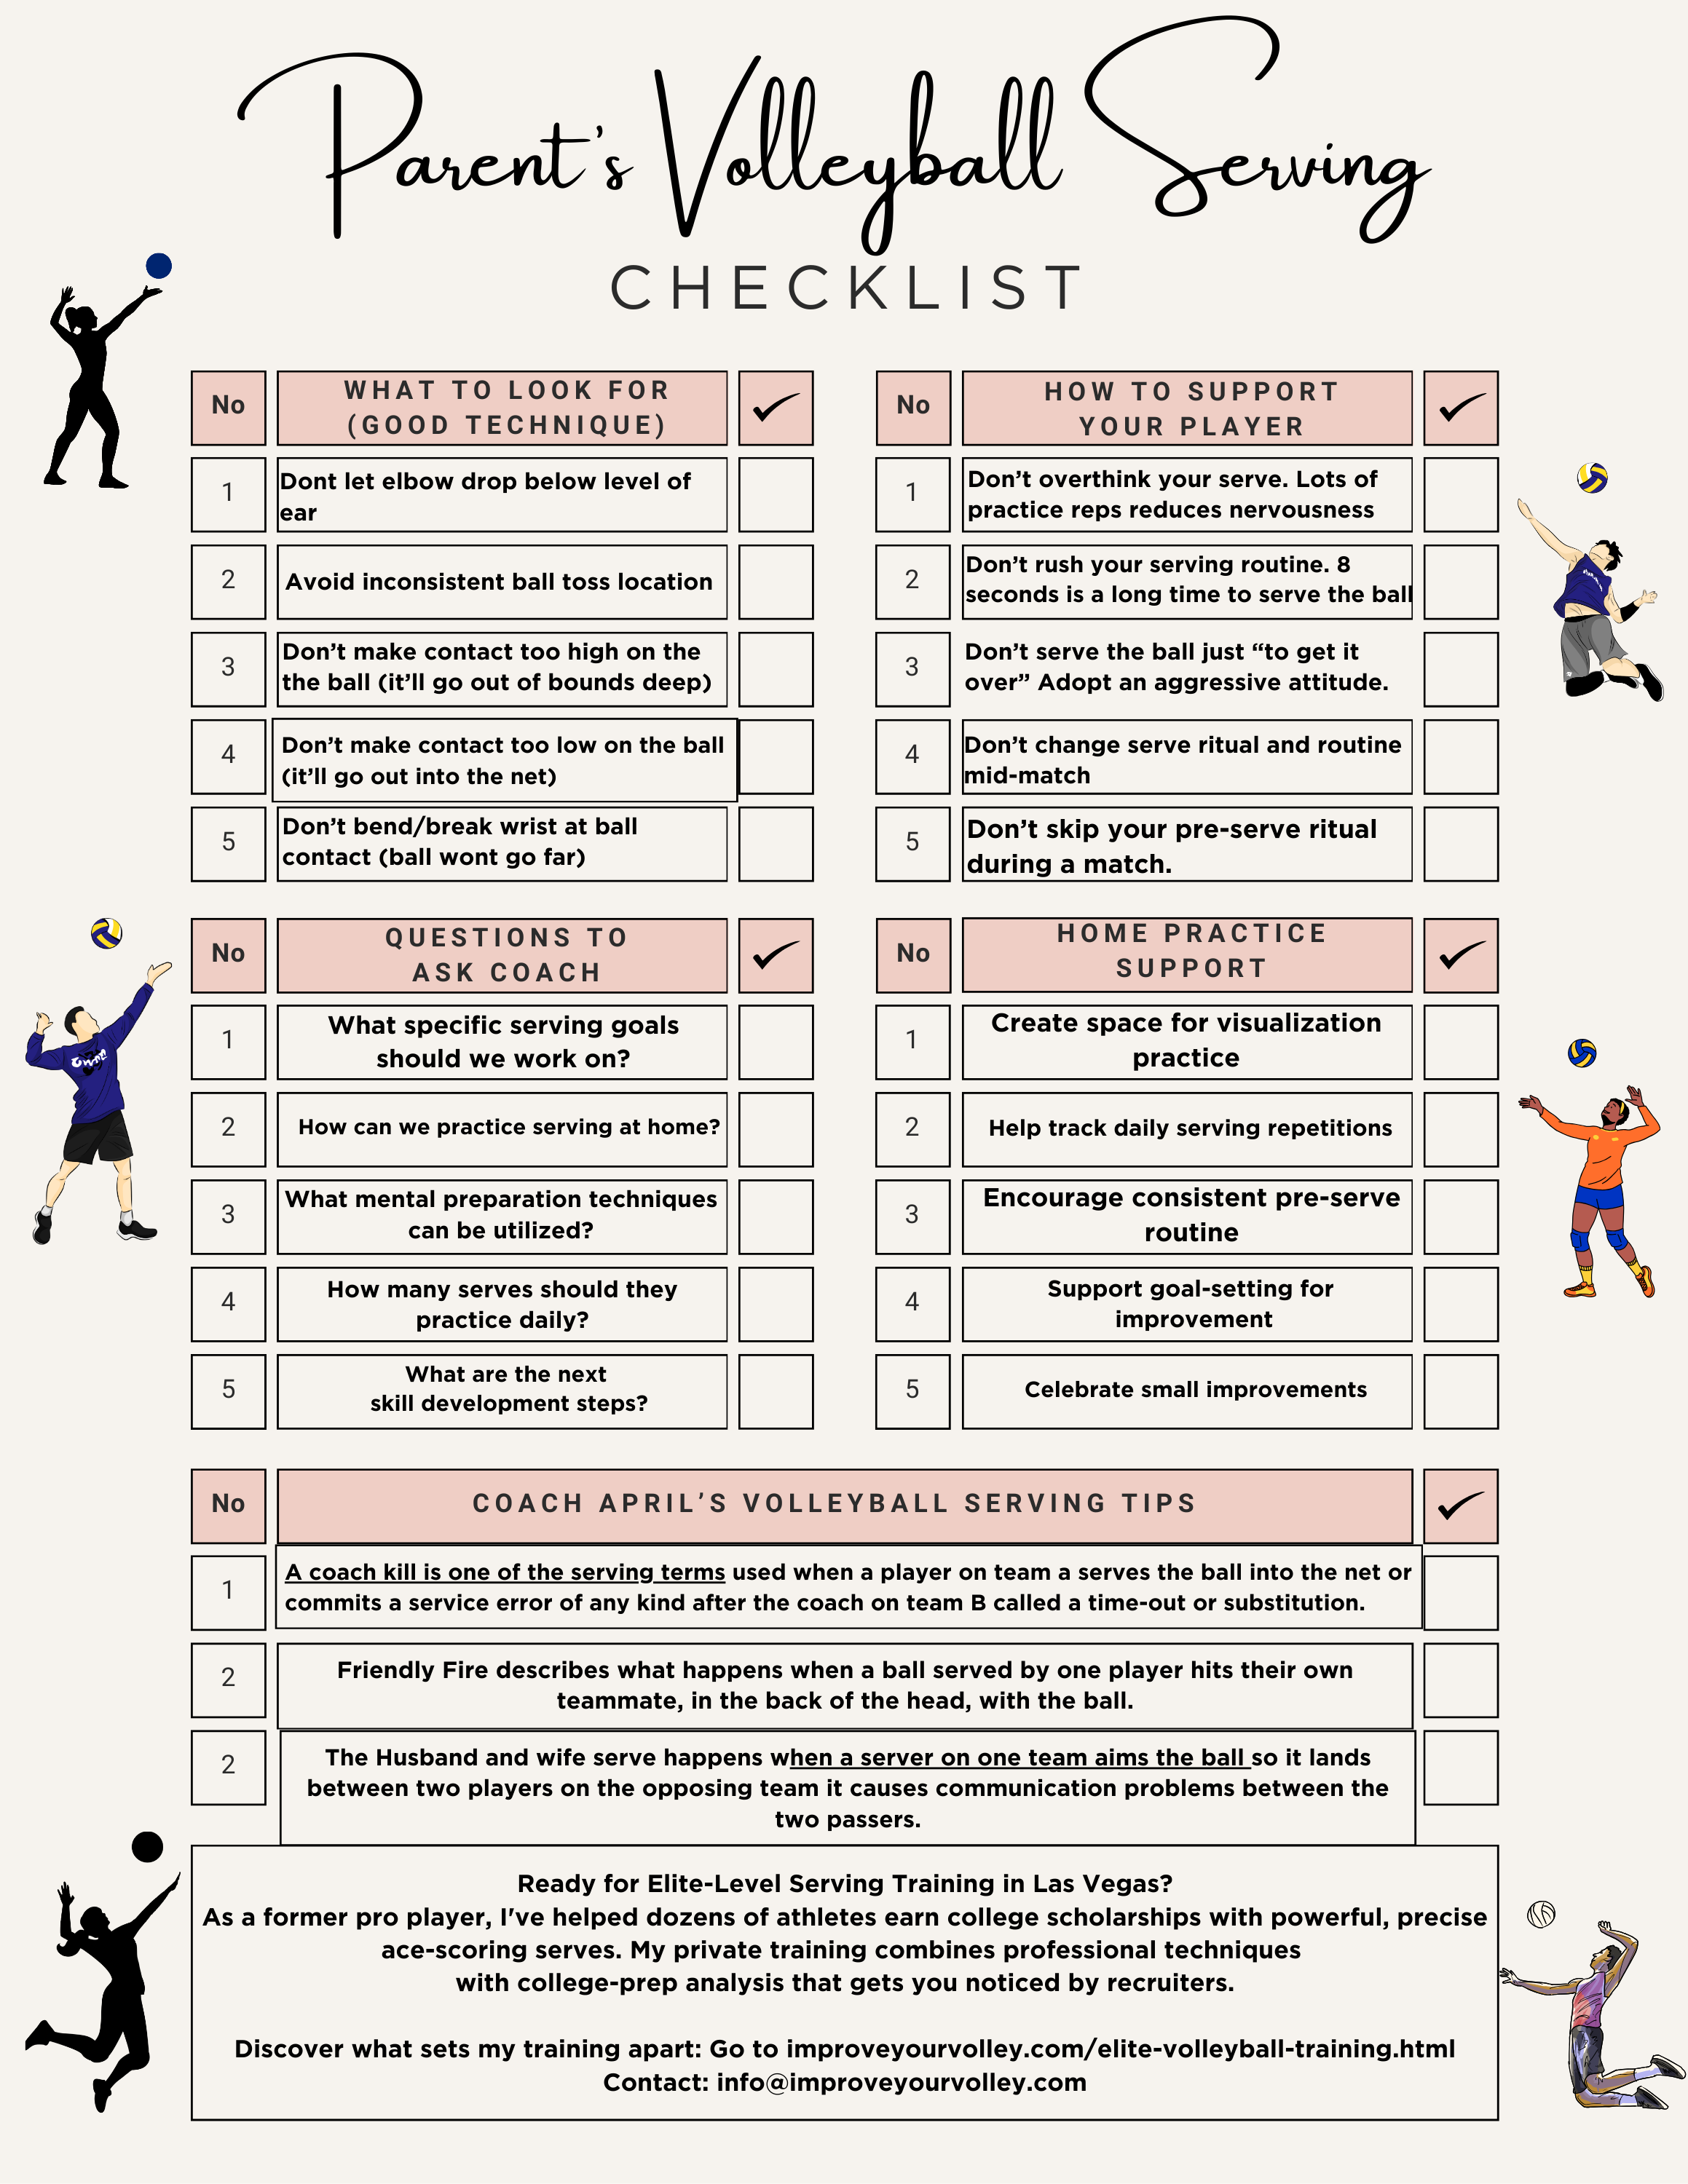
Click to Download Your Parent's Volleyball Serving Checklist pdf
🎯Parent's Volleyball Serving Checklist Guide
Parents! Help Your Player Develop Championship Serves (Even If You've Never Played)
Hi there!
Thanks for stopping by. Hope you learned something today that will help you reach your volleyball goals.
Be sure to subscribe to my email newsletter so you can learn more each week!
Stay strong! Stay motivated!
-Coach April

SUSCRIBE to my email newsletter below!
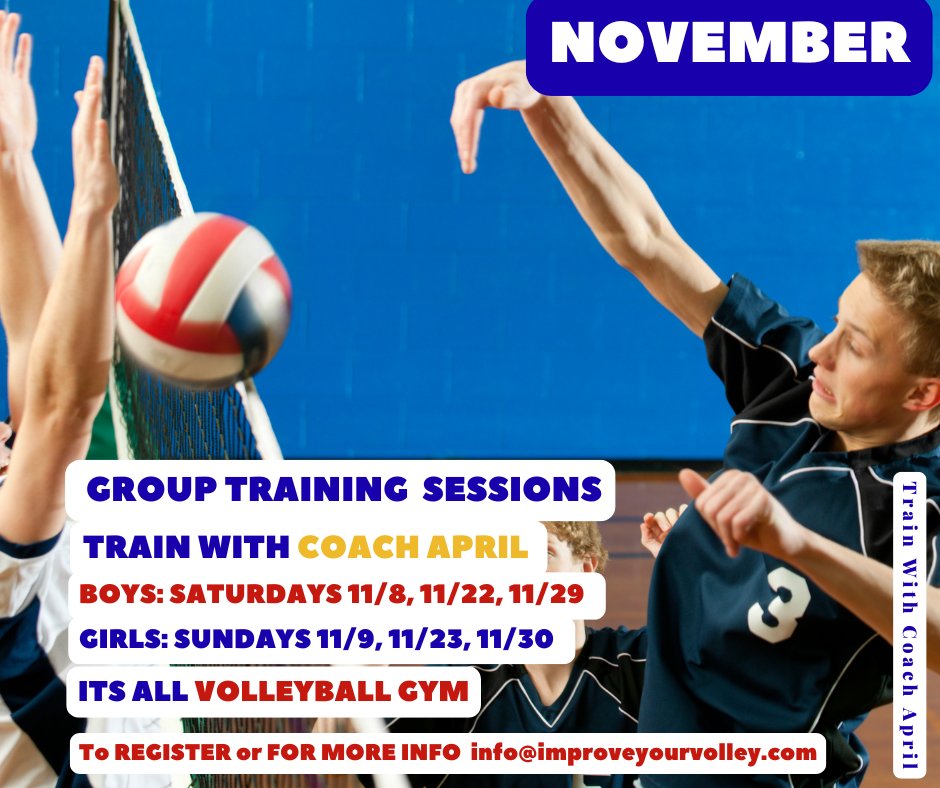
 Click to learn more about the weekly volleyball classes and clinics or email info@imrpoveyourvolley.com for information
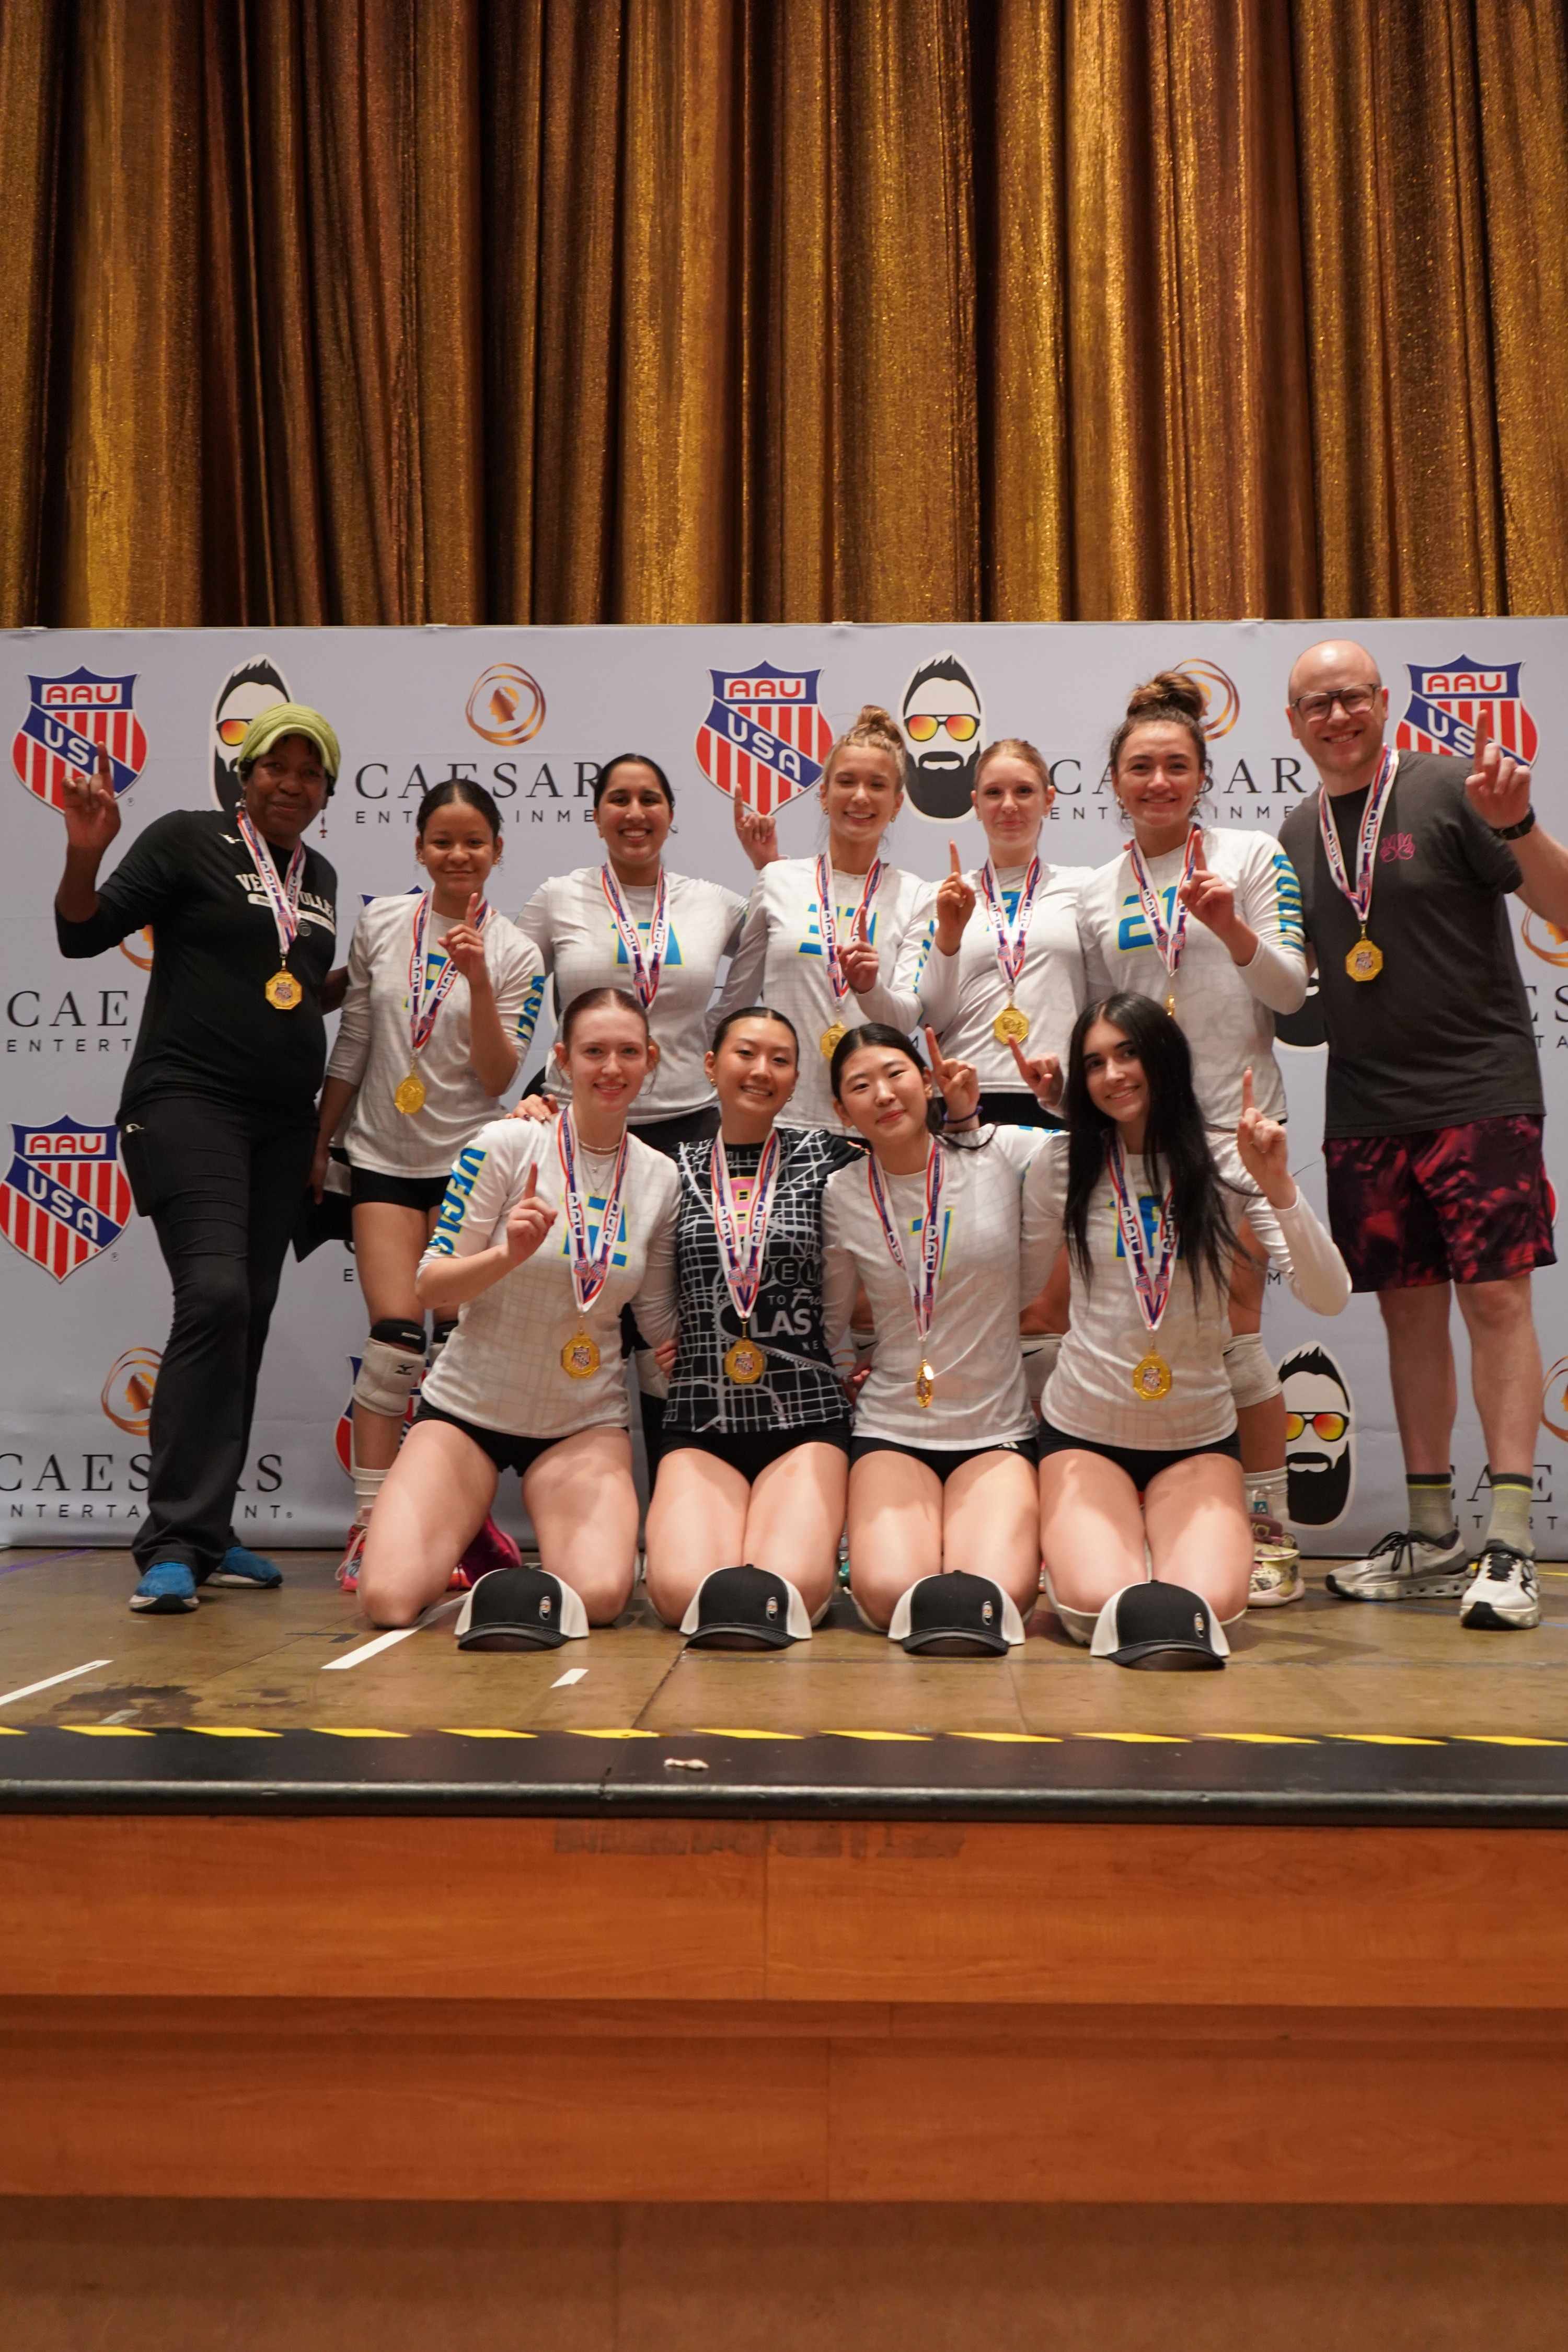
Congratulations to my seven Boys-18s Vegas Volley club players who played in two state championship finals yesterday, the 3A and 5A State champinship finals at Sunrise Mountain High School.
TOURNAMENT CHAMPIONS!
A-1 Vegas Volley VBC
In It To Win It Tournament
May 2 - 4, 2025 Tournament
Gold Medalists
18s Premier Division
Vegas Volleyball's Unsung Heroes: Celebrating Moms with Peace Love Volleyball Shirts
Ready to energize your volleyball mom journey?
Subscribe to my 'Producing Powerful Passionate Peaceful Players' email list above on ImproveYourVolley.com.
You'll receive energy-boosting tips, exclusive insights from me, Coach April Chapple on maintaining momentum in volleyball.
Let's power up the Vegas volleyball scene together!
Recent Articles
-
Use A Jump Float Serve To Create Power For An Ace Or To Start A Rally
Dec 31, 25 09:31 PM
Use the overhand jump float serve to generate a powerful serve that starts a rally after the ref blows the whistle for the player behind the service line. -
Types of Volleyball Serves What's A Float, Jump Float, Spin, Jump Spin
Dec 31, 25 09:13 PM
What're the types of volleyball serves like the standing float serve, the jump float where you add spike approach footwork and the topspin and jump spin serves. -
Overhand Jump Serve Volleyball Tips To Score Many More Points and Aces
Dec 31, 25 09:09 PM
My "Coach April Overhand Jump Serve Volleyball Tips" designed to help you increase your serving accuracy, power and the ability to serve more aces in volleyball.
